
Microsoft has introduced a handy way to distinguish between multiple Visual Studio instances with per-solution colour themes. The feature lets developers assign different themes to individual solutions, making it easier to identify the right project at a glance when switching between windows.
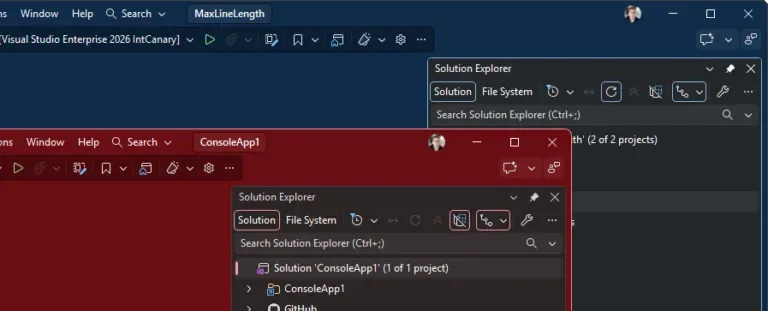
Here's how:
Give Each Visual Studio Solution Its Own Colour
Open Tools > Options, then find the Applies to dropdown at the top of the window. Switch from your user profile to the current solution and choose a colour theme that will be associated with that solution.
Changes Apply Instantly
There's no need to restart, click an Apply button, or take any extra steps to see your changes. The updates take effect immediately. For best results, use contrasting colours for your solutions, such as Dark for the service, Blue for the client, and Light for the sandbox.
Take Your Settings With the Solution
Per-solution settings are stored in a settings.VisualStudio.json file in your solution's root folder, allowing your team to use the same colour settings when they clone the repository. Alternatively, you can add the file to .gitignore if you want to keep your settings personal.
Keep Your Global Settings Separate
Solution-level settings don't overwrite the preferences you use across every project. Simply switch the Applies to dropdown back to your user profile whenever you want to change your default Visual Studio settings.
Want to add customisable PDF exports to the environment you’re developing in? Explore Infinity Buttons: Record to PDF and get in touch with us today to learn more.