Windows 10 Technical Preview – Step-By-Step Install
Greg Olsen, 17 April 2015
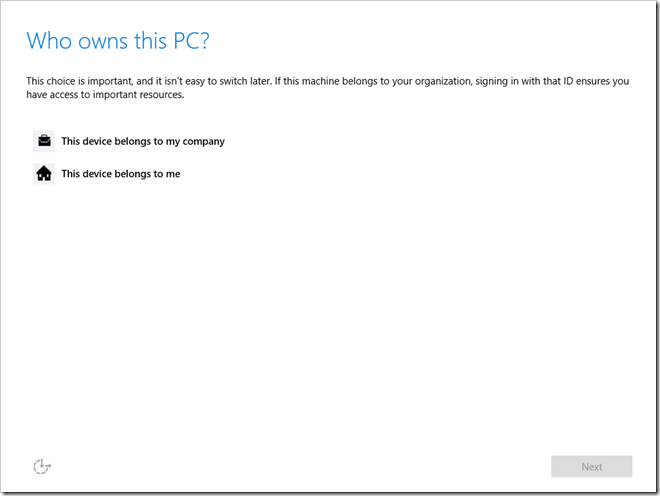
This blog post will give you a step-by-step look into the installation of Windows 10. This installation I have used the Windows 10 Technical Preview release. At the time of this blog post, v10049 is the latest build version available.
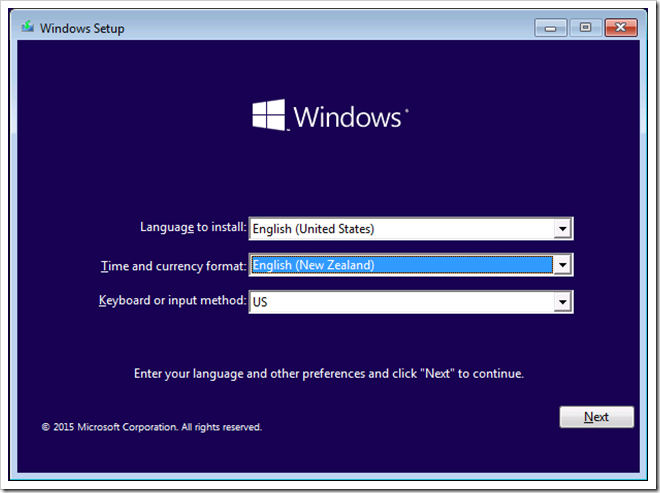
Step 1 – Select Language and other preferences.
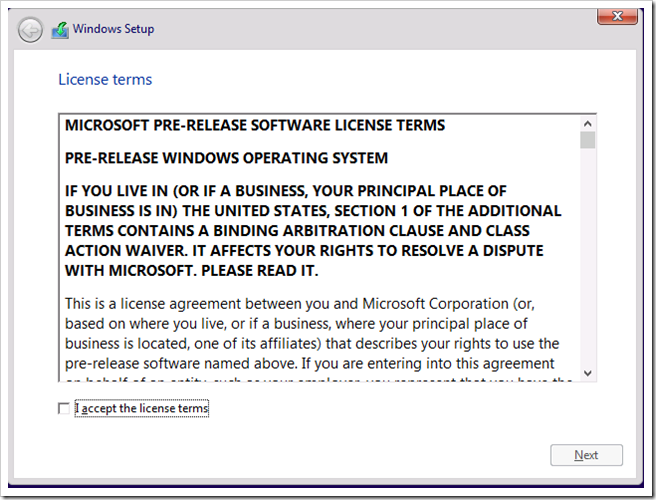
Step 2 – Accept license terms
Step 3 – Select installation type
From the screen above, I selected Custom: Install Windows only (advanced) option.
Step 4 – Select where to install Windows
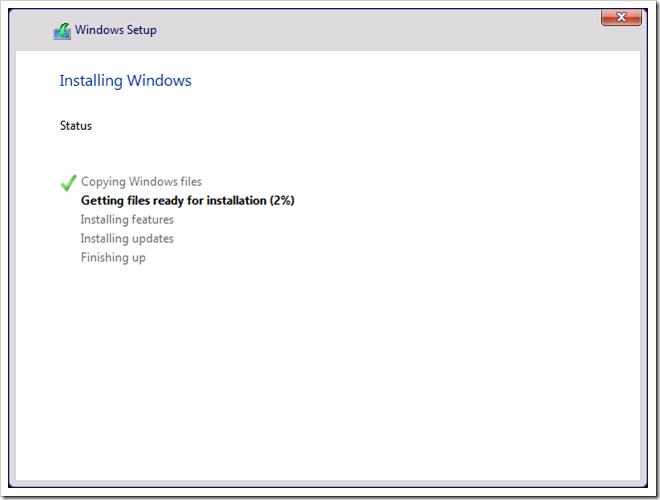
Step 5 – Windows now starts installation
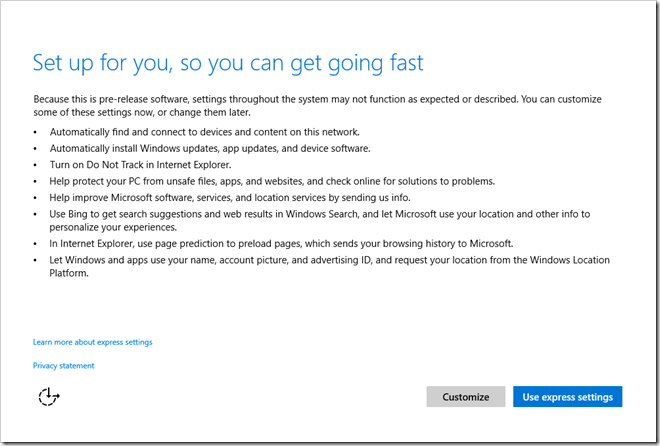
Step 6 – Customise settings
From the screenshot above, I simply selected Use express settings
Step 7 – Windows checks connections and other settings
Step 8 – Setup the first logon account
Step 9 – Setup the first logon account
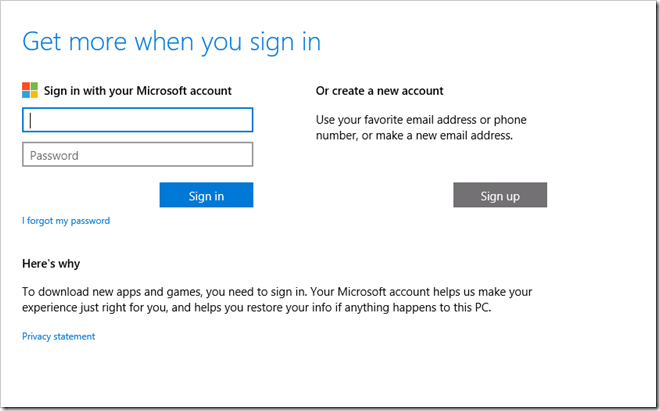
From the screenshot above I decided I didn't want to use my Microsoft Account (formally known as a Windows Live account) . Therefore I clicked Sign up (don't worry about signing up, I have a process to pass the sign up stage on the next screen).
Step 10 – Create a Microsoft account
From the screenshot above, I didn't create a new account, therefore you can click the text at the bottom Connect my account later.
Step 11 – Create an account for this PC
Since I didn't use a Microsoft Account, I will need to create a local account on the Windows 10 installation. I filled in the required details on the screenshot above and clicked Next.
Step 11 – Windows is completing the install ..
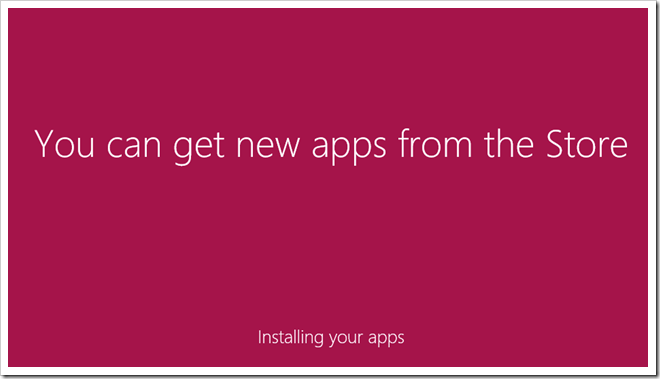
From the screenshot above, windows installation is underway.
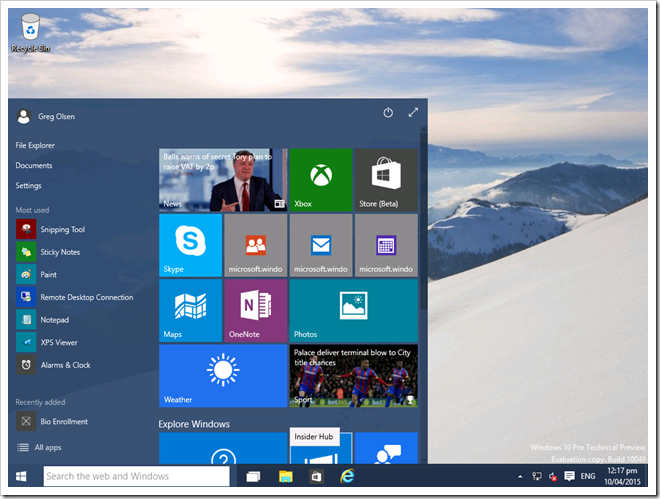
Step 12 – Windows install is completed!
Finished! – That was easy right?
More about Windows 10 can be found here:
http://windows.microsoft.com/en-nz/windows-10/about?ocid=WIN10_0_WOL_Hero_Home_Windows-10_Null_01

