

Integrating Microsoft Social Listening with Dynamics CRM
Zoe Sands, 03 March 2015
Social Listening can help you gain insights into what is being said about your company, products and competitors. Data is given to you in the form of charts and graphs and you are able to drill down into it to see who's talking about you, what they are saying and where they said it. Integrating with Dynamics CRM allows you to display social media data directly in CRM dashboards and entity forms. Administrators configure the connection to Social Listening and add the Social Insights control to forms and dashboards.
Configure a connection
To configure a connection, you need to have a subscription to Microsoft Social Listening, be an authorized Microsoft Social Listening user and have a Microsoft Social Listening instance provisioned for your CRM instance. To connect CRM to your provisioned instance of Social Listening follow this path: Settings > Administration > Microsoft Social Listening Configuration,
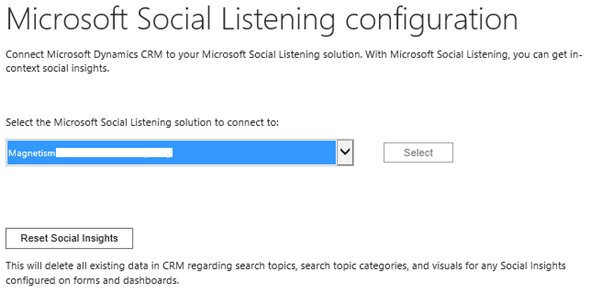
Select the instance you want to connect to from the drop down box and click select.
Add Social to Forms:
I am going to add Social Insights to the Contact entity. To do this follow these steps:
- Navigate to your solution and
- Select the entity you want to add insights to

- Open forms and select the main form.
- Select the insert tab, then Social Insights.
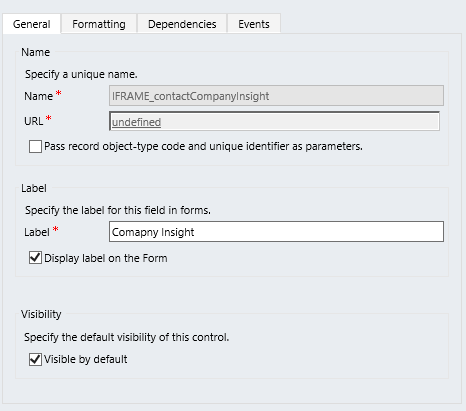
- Give the control a unique name and label, resize the control to make it fit for the intended insights, save and publish.
NOTE: Consider increasing the amount of lines that the Control can take up so you are not left with an annoyingly small window. You can do this in the formatting tab.
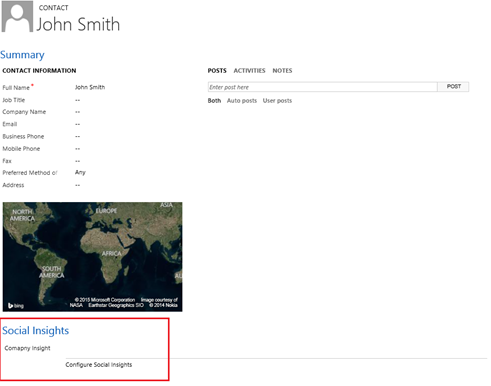
A control called Configure Social Insights is then added to the form.
- Then go to the entity whose form you added the control to, select a record to configure the insights for then click "Configure Social Insights"
- Follow the Setup Social Insights process
Add Social to Dashboards:
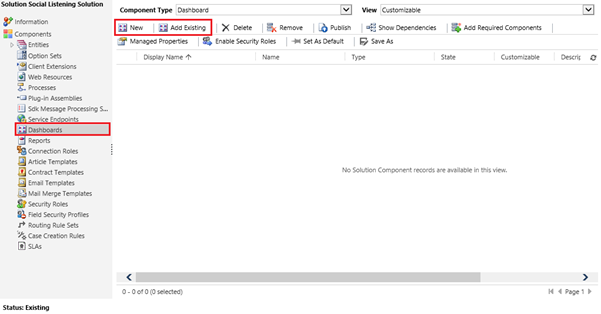
Navigate to your solution and select Dashboards, select a dashboard to edit or create a new one.
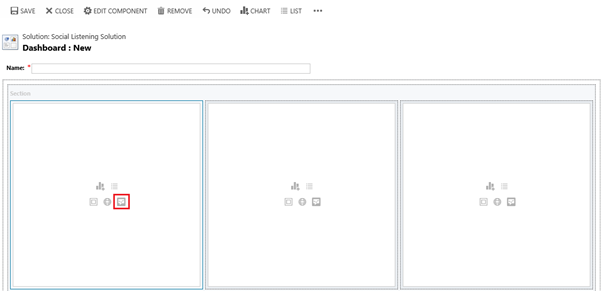
Add controls by choosing the social insights option and following the Setup Social Insights process.
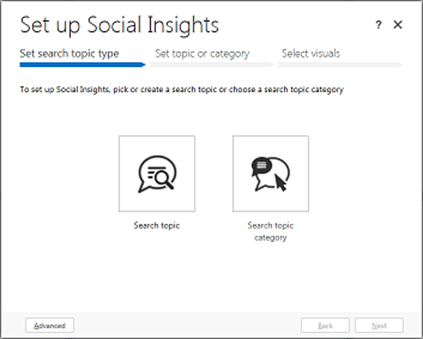
Setup Social Insights Process:
Decide if you want to use a single search topic or a search topic category (Which contains multiple topics) as your data source. In this example we are creating a new topic.
When creating the control from a dashboard click "Advanced" button and the "Add Social Insights" dialog appears (see below) where you can configure the name and other settings for the control.
Click Next.
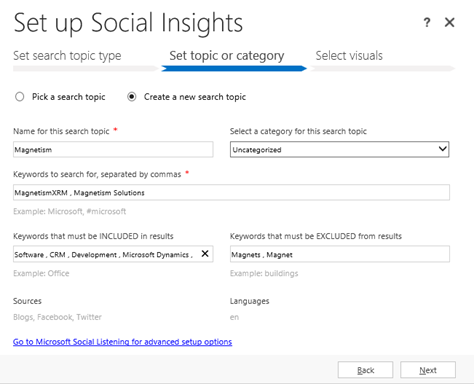
Choose your topic/category or create a new topic. Keywords are not case sensitive but they are exact, so it pays to include variations in your words; e.g. Magnet and Magnets. Giving your topic a category means that you will be able to look at overviews of these categories from the homepage. While you can create a new topic from within CRM it is recommended that you create them from Social Listening as you will have more creation options; as you can see from the greyed out Sources and Languages sections.
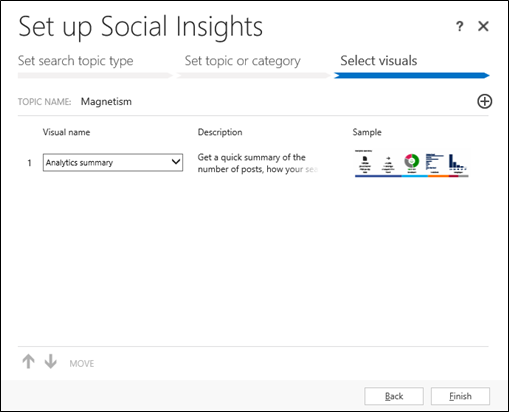
Select the visuals that will be displayed. You can add/remove and move these as you like.
Click Finish.
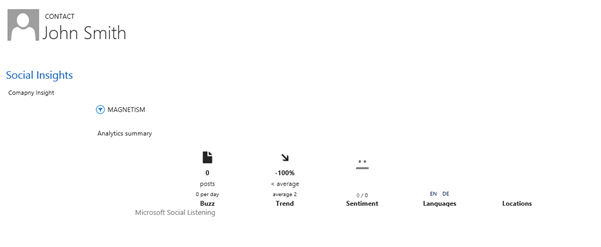
A new topic will start listening once you've created it, so initially it won't contain any data.
Category List

Filter by Author
Adam Murchison
Alfwyn Jordan
Arthur Mandisodza
Calum Jacobs
Colin Maitland
David Mochrie
Dominic Liu
Gayan Perera
Harshani Perera
Isaac Stephens
Jaime Smith
Jared Johnson
John Barrencechea
John Eccles
Lauren Withers
Paul Nieuwelaar
Roshan Mehta
Roz Millar
Ryan Blaikie
Ryan Ingram
Sarah Coleman
Sean Roque
Shalane Williams