ClickDimensions - How to create a contact form
Jared Johnson, 29 August 2012
Before you begin to create the contact form, you must create the fields on the form that you will require.To do this, click on Form Fields in the ClickDimensions section under the Settings CRM tab and click new.
This will give you 3 fields to fill out, the Name of the field, the Form Field Id (this field is important if you are using this field with Form Captures) and the type of the field (e.g. text, number, email). Once these fields are filled out and the form saved, the Mappings section becomes available. This allows you to choose what fields on a Lead and Contact this field will map to.

With the fields created it’s now time to begin creating the contact form. To start click on Web Content in the ClickDimensions section of the Settings tab and click new.
This will give you 6 fields to complete, the name of the form, the owner of the form (defaulting to the current user) the type of the form, the domain this form will be used on, a campaign this form will be associated with and whether to create a new visitor as a lead or contact. In making the contact form make sure the Type is set to form and that the Domain is set to the domain the contact form will be hosted on.

When the fields are complete click save; this will unlock the Design button in the ribbon.
Click the Design button open the design windows and begin to design the contact form.
On the right hand side you can see the fields that you created earlier; you can drag these onto the grid in the center to add them to the form. You can also change the filter drop down to Form Components to add things like titles or a CAPTCHA to the form.

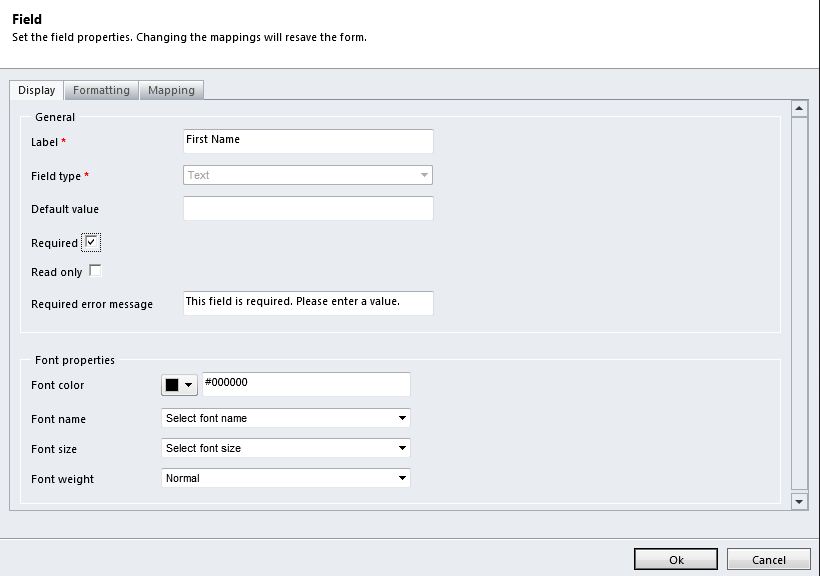
Once the fields have been placed on the form, you can open up the edit field window by double clicking on the field or selected it and clicking Properties in the field section of the ribbon. From here you can set the label for the field and its width and styling, and also determine if the field will be required. You can also set the field to be validated by a regular expression.

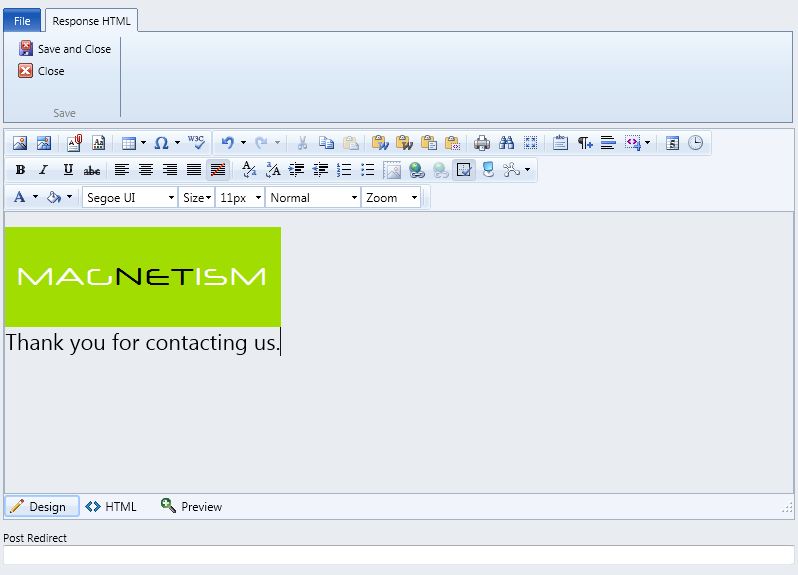
Once the fields have been setup, the next step is to click the Confirmation Text button in the ribbon. This will allow you to determine what is shown to the user of the form after it is submitted. The button opens up an html editor window, with 3 tabs located at the bottom: Design, HTML and Preview. The preview tab as expected gives a preview of what the confirmation text will look like. The Design tab gives you a WYSIWYG style editor to allow you to create the content. The HTML tab allows you to create or edit the content using pure html. Also in this dialog is the Post Redirect field. This allows you to specify a webpage to redirect to after the form has been filled out. Note that if this is set any confirmation text will not be shown.

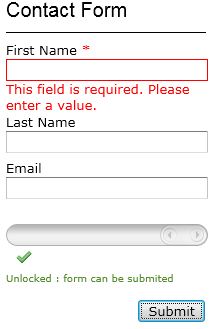
Now you can use the Preview button in the ribbon to preview how your form will look and fill it out to test any validation you have set up. Note that if you submit this preview form it will not show you the Confirmation Text you have set up.

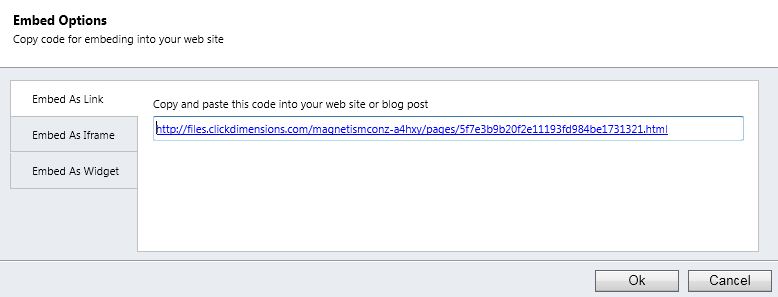
Once you are happy with your form click the Save button in the ribbon, then click the Embed button. This will open a window giving you 3 options on how you want to Embed your form for use: Embed as Link, Embed as Iframe and Embed as Widget. Embed as Link is the simplest option, this gives a url where your form can be accessed from, hosted by ClickDimensions. This means you do not need your own website, such as if you wanted to send the form by email. However if it is hosted on your website it means that accessing this form will take users away from the website it was linked from.

The Last 2 options allow the form to be embedded directly in a webpage, so users will not be taken away from your site. To use them copy and paste the code each gives you into the html code of your webpage. In comparing them the Embed with Iframe option is best, the Embed As Widget option is very slow, it is best used in situations where Iframes cannot be used.
Now your form is ready to be used by your users and for you to take advantage of the marketing power that ClickDimensions provides.

